
Virgil’s Worktable Series
Virgil's Worktable Series is original Right Angle Stitch teaching: the craft Virgil's family handed down, taught as written lessons you can follow at your own machine. No rush, no guesswork, no skipping ahead. We start where every well-dressed man starts — the cuffs and the collar.
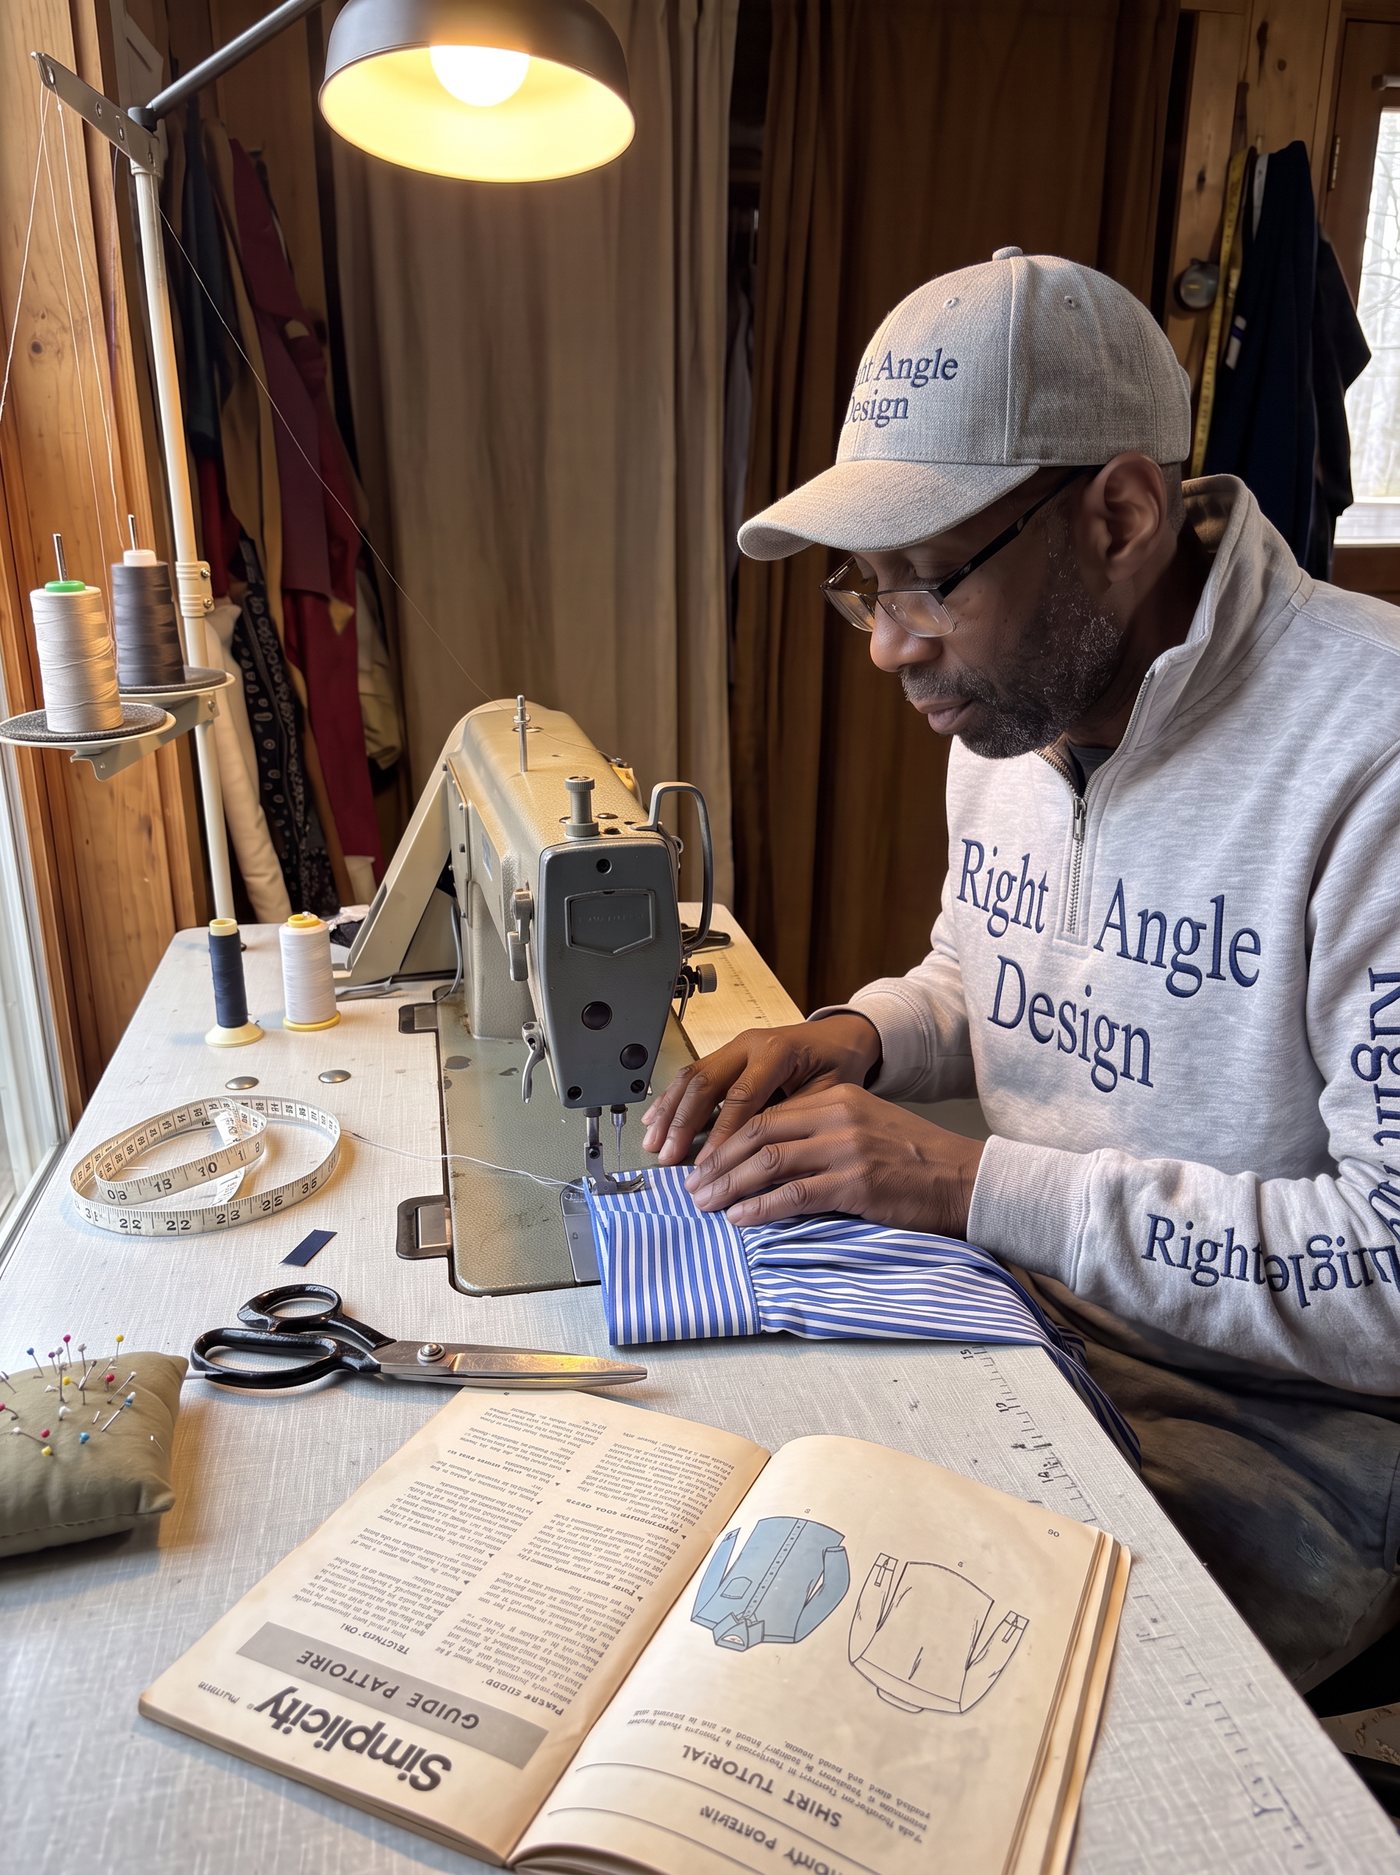
Virgil Pennie
Designer at Right Angle Design Woodworking. Learned the machine before he learned the saw.
Read Virgil's storyVirgil grew up at a tailor's table. His father sewed the traditional way in the 1970s, when everything was made to order and fit was the whole point — wool, silk, linen, and a pattern cut for one body and no one else. That was the world of the pattern draft and the instruction booklet, and Virgil learned the tools and the machines inside it.
He also learned design and color theory from his mother, and how certain styles stay timeless while the rest fall away. Those lessons never left. Today he draws the pieces Carl and Dominic build in the Atlanta shop — and he teaches the needlework that started the family's craft.
These tutorials are taught the way he was taught: one step, then the next. Read it, sew it, tick it off.
Virgil's Worktable Series.
Every written lesson is original Right Angle Stitch teaching, shared the way Virgil learned at the family table. Free preview available. Filming in progress — complete studio demonstrations will accompany future releases.
Cuffs on shirts
Interfacing cut and fused, buttonhole marks transferred, notched edges pressed, curves graded and turned — then the cuff goes on and gets topstitched so it lies flat and reads sharp.
Open the Academy lessonCollar on a self-band
Virgil’s original self-band teaching: how a collar is built, turned, pressed and attached so the band rolls flat and the points stay honest.
Open the Academy lessonMore lessons are being drawn as fast as they can be tested at the bench — plackets, pockets, facings and the rest of the shirt.
From the Journal · Holiday project
How to Sew Natural Linen Napkins for Your Holiday Table
A beginner project in Virgil's own words: measure, cut, press and stitch a set of four 18-inch napkins with a simple double-fold hem — the same measuring and pressing discipline the shirt lessons are built on.
Open the napkin tutorialCuffs on shirts
Original Right Angle Stitch written teaching is available now. Filming in progress. Verified lesson coming soon.
Open the written previewJoin release listCollar on a self-band
Original Right Angle Stitch written teaching is available now. Filming in progress. Verified lesson coming soon.
Open the written previewJoin release listSew along, right here.
Both free lessons live inside Right Angle Stitch, our sewing academy. Work one step at a time, save your notes, and tick off each step as you finish it — progress stays on your own device, and no account is needed.
Four moves, every lesson.
Open a lesson
Every lesson is illustrated and taught from Virgil's own worktable.
Sew one step
Work the step at your machine. Don't read ahead — one move at a time.
Tick it off
Mark each step done as you finish it. Progress saves on your own device.
Come back
Close the laptop, return the next night and pick up exactly where you stopped.
What should we draw next?
Tell Virgil which sewing technique you want taught next — or ask him about a cuff, a collar or a fit problem that has you stuck.