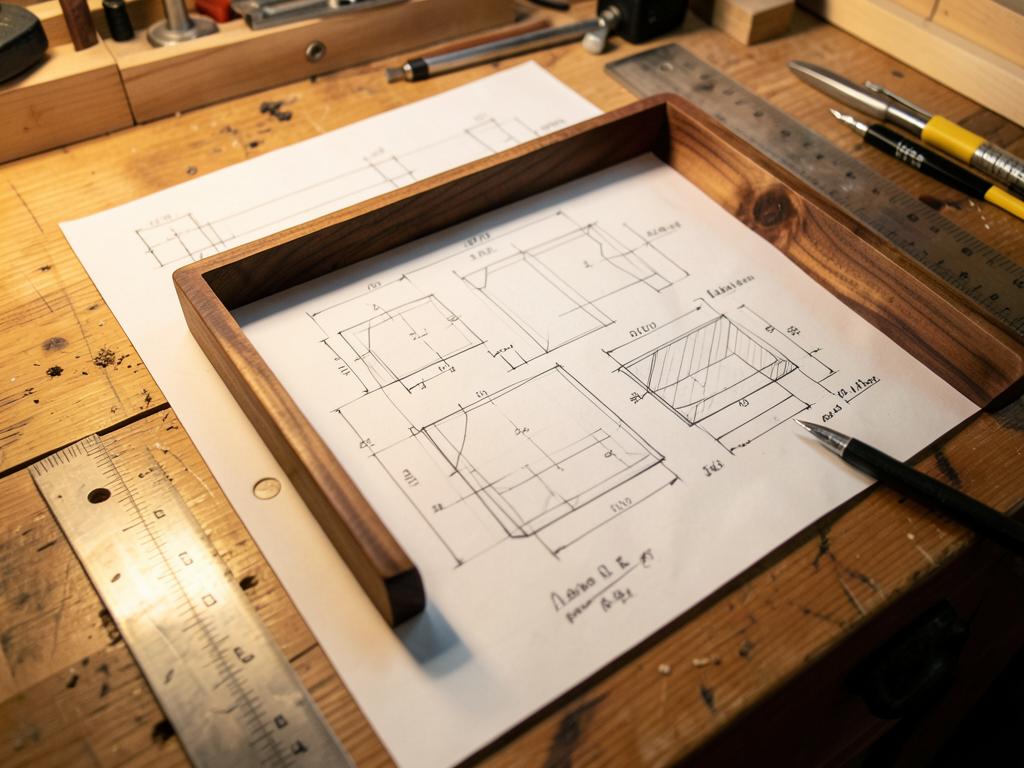
Step 1 of 24 · Drawing bench
Confirm dimensions, wood species and any metal or fabric detail against the customer request. Sketch the cut list.

Wood is the original plasticAtlanta, GA
Run 02 · 40 made
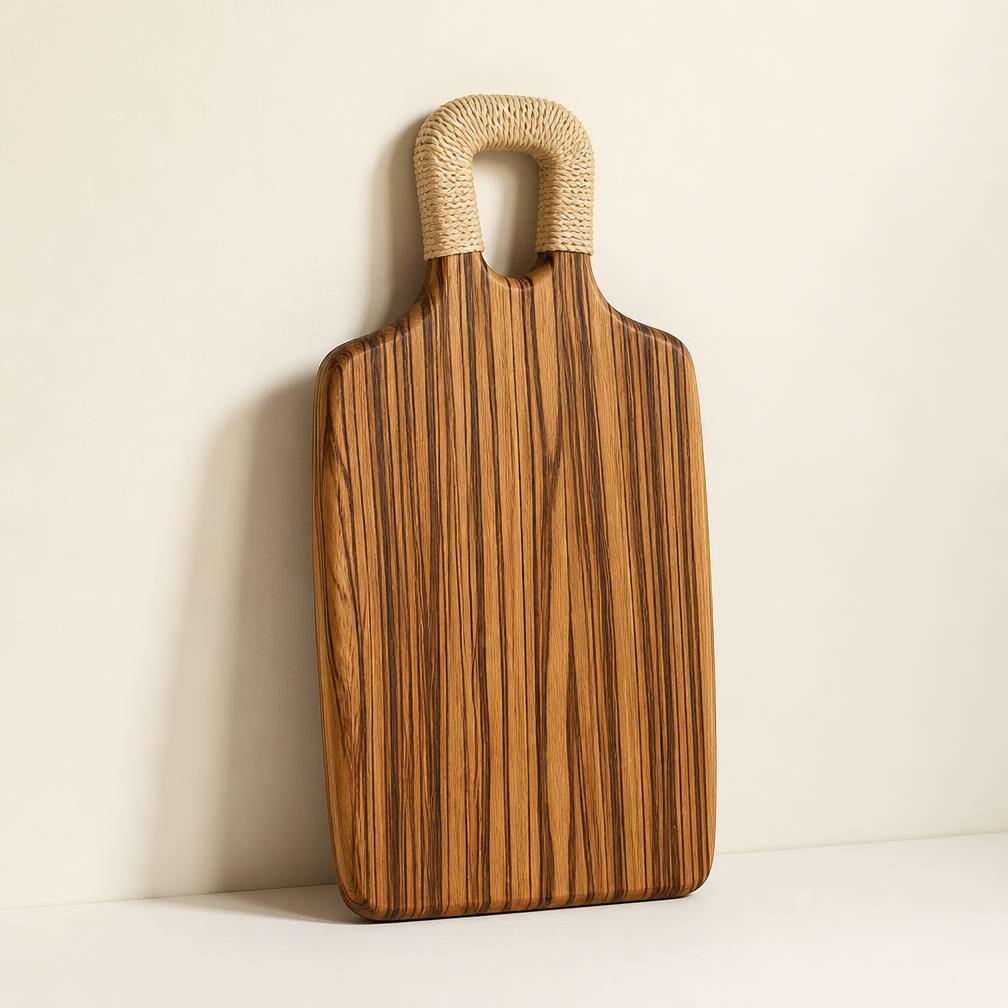
Twenty-four steps from board to box — the same bench order every piece follows in our Atlanta shop. Cut so the zebrawood stripe runs the full length of the board rather than across it. The handle is wrapped in natural cord by hand — a soft grip against a hard, dense face.
Step 1 of 24 · Drawing bench
Confirm dimensions, wood species and any metal or fabric detail against the customer request. Sketch the cut list.
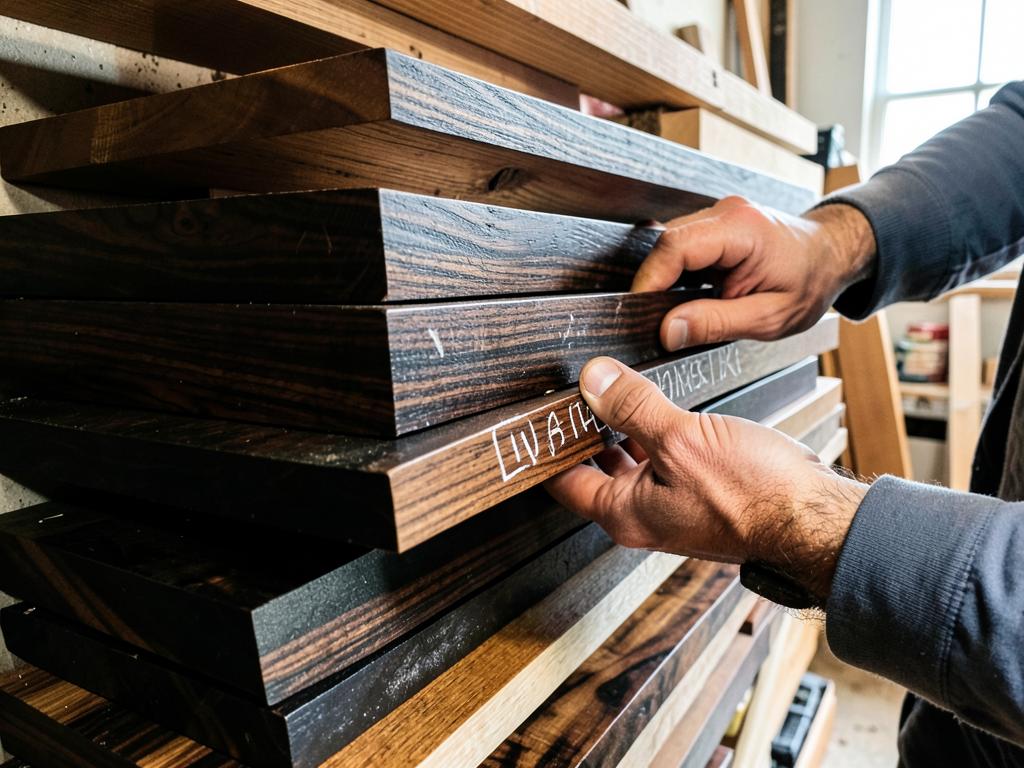
Step 2 of 24 · Lumber rack
Pull the boards. Read grain and figure, mark the show faces, and set aside off-cuts for accents.
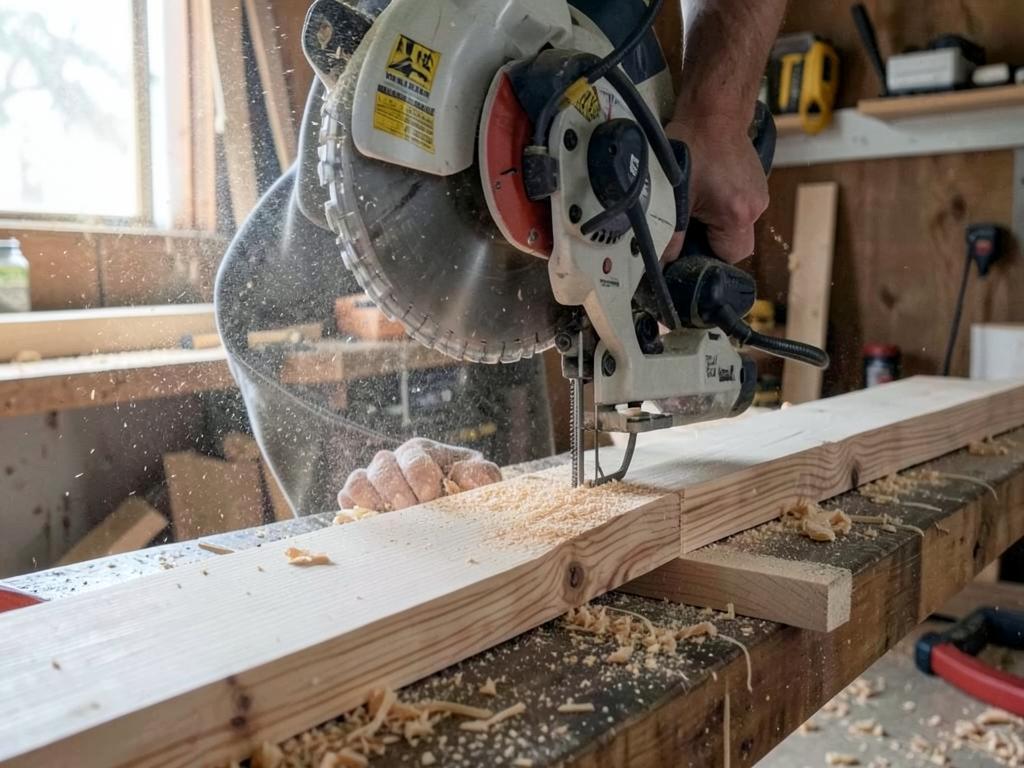
Step 3 of 24 · Miter saw
Rough-crosscut boards to length plus 2" so they can move before final milling.
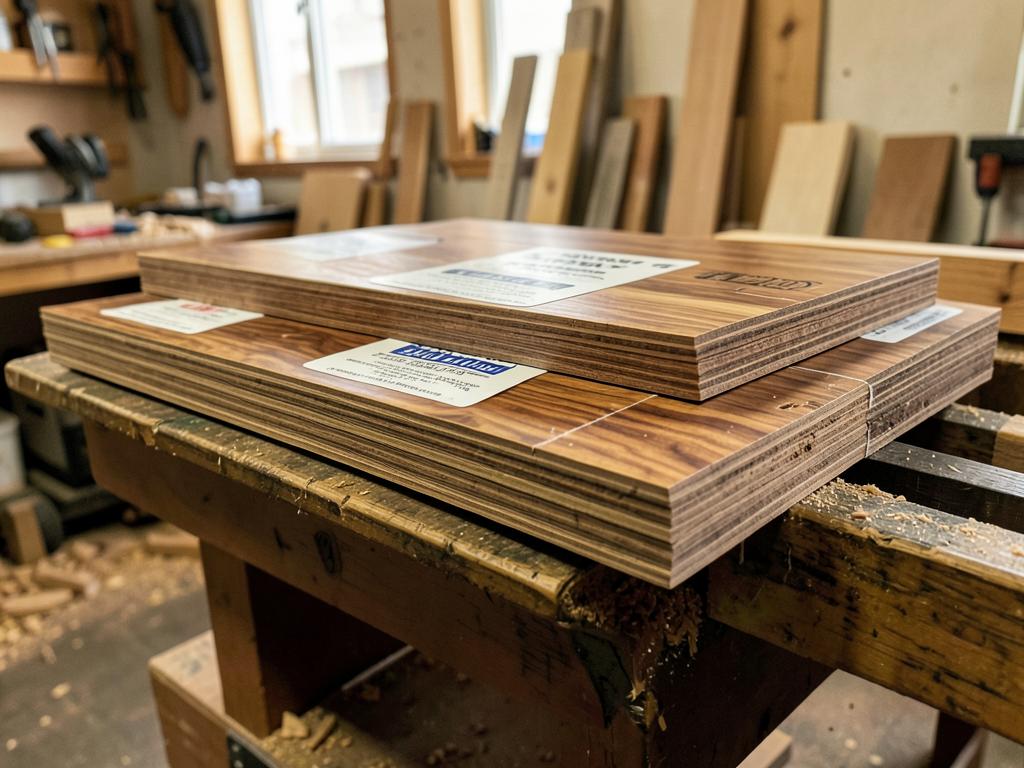
Step 4 of 24 · Sticker rack
Sticker and rest the rough stock 24–48 hours so internal tension settles before milling.
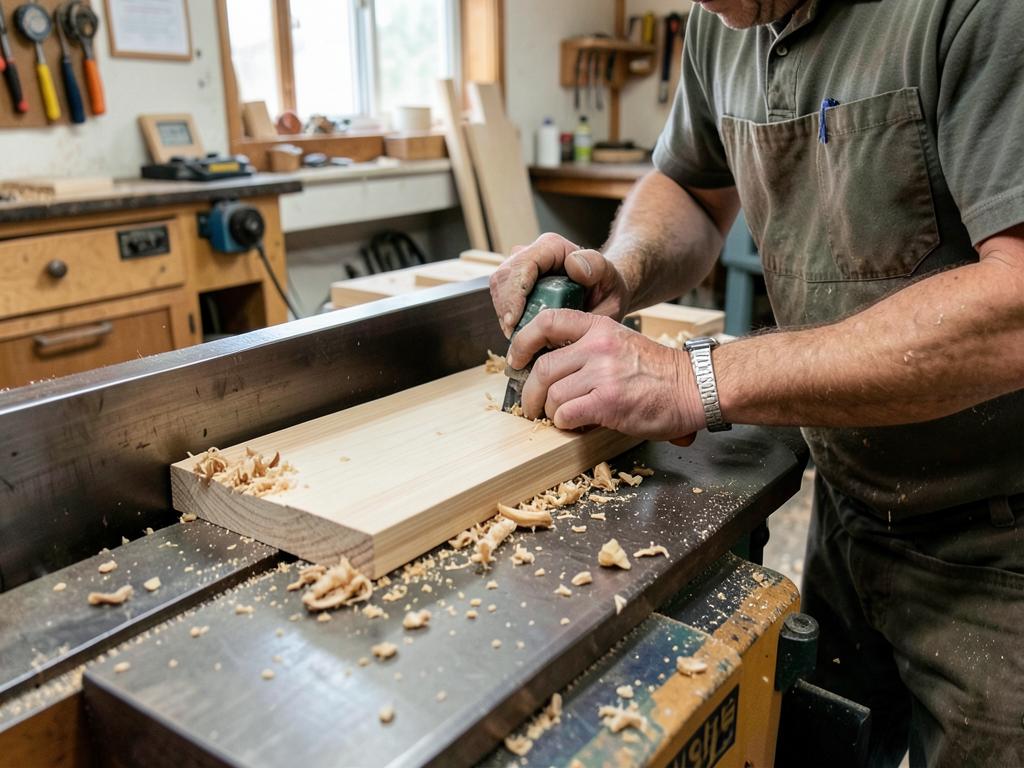
Step 5 of 24 · Jointer
Flatten one face, then joint one edge square to it. Mark the reference faces.
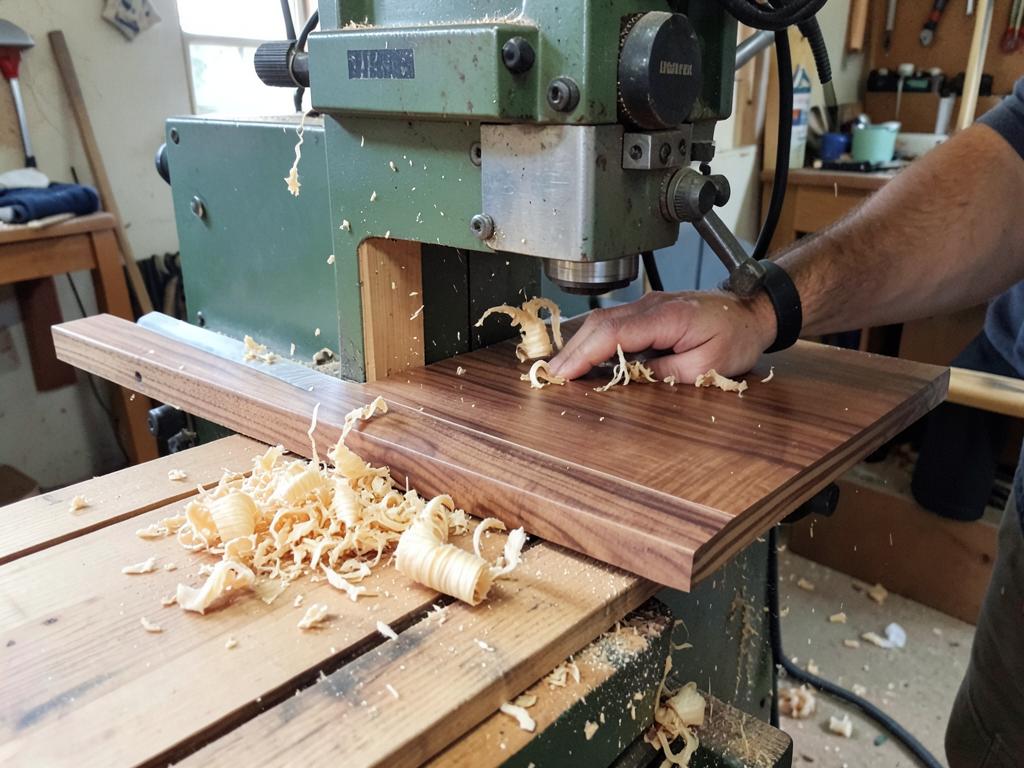
Step 6 of 24 · Planer
Take even passes off both faces to final thickness. Light final passes to avoid tear-out in figured woods.
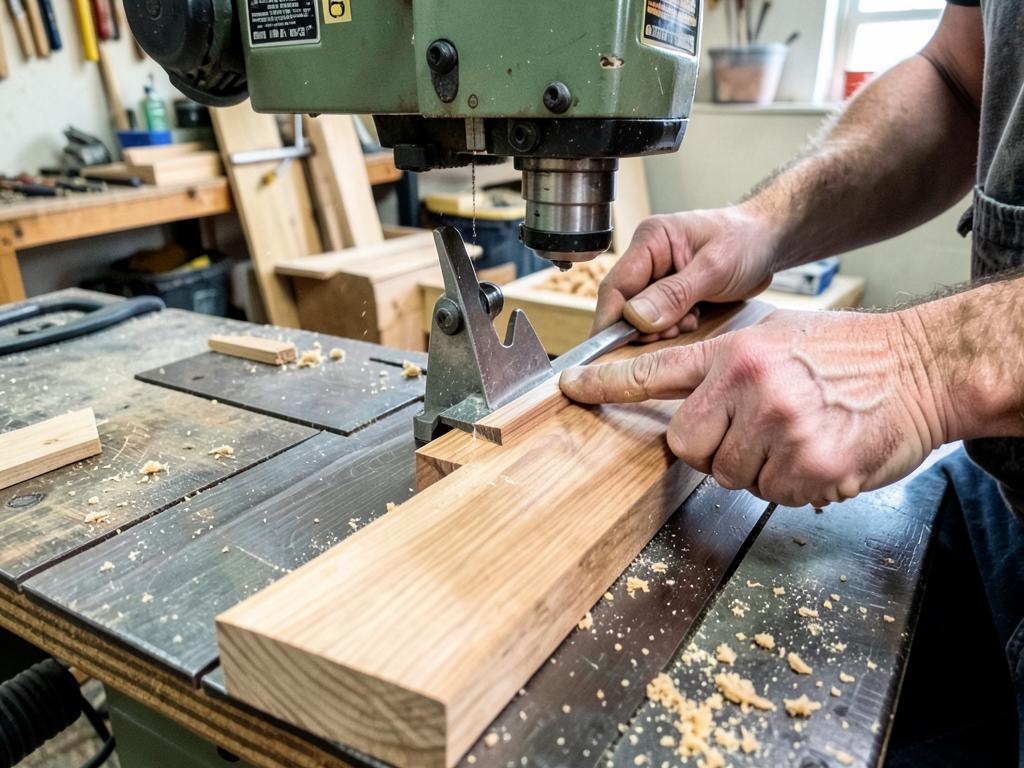
Step 7 of 24 · Table saw
Rip to final width off the jointed edge. Use a splitter and a fresh blade.
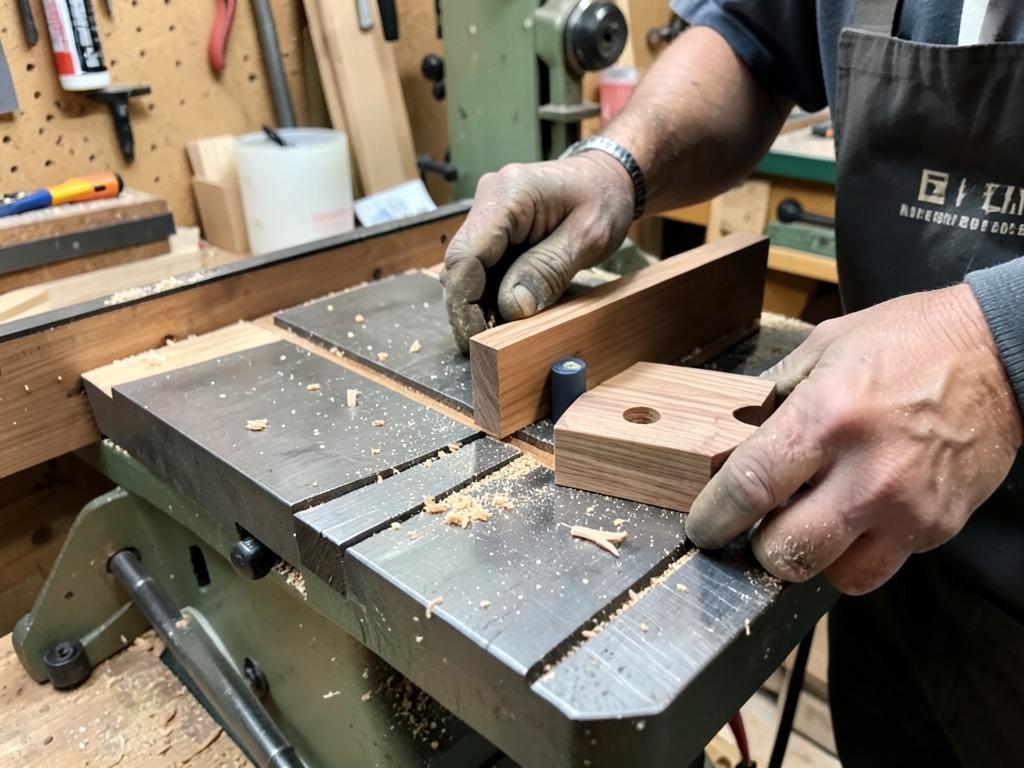
Step 8 of 24 · Crosscut sled
Cut to final length with a stop block so matching parts are identical.
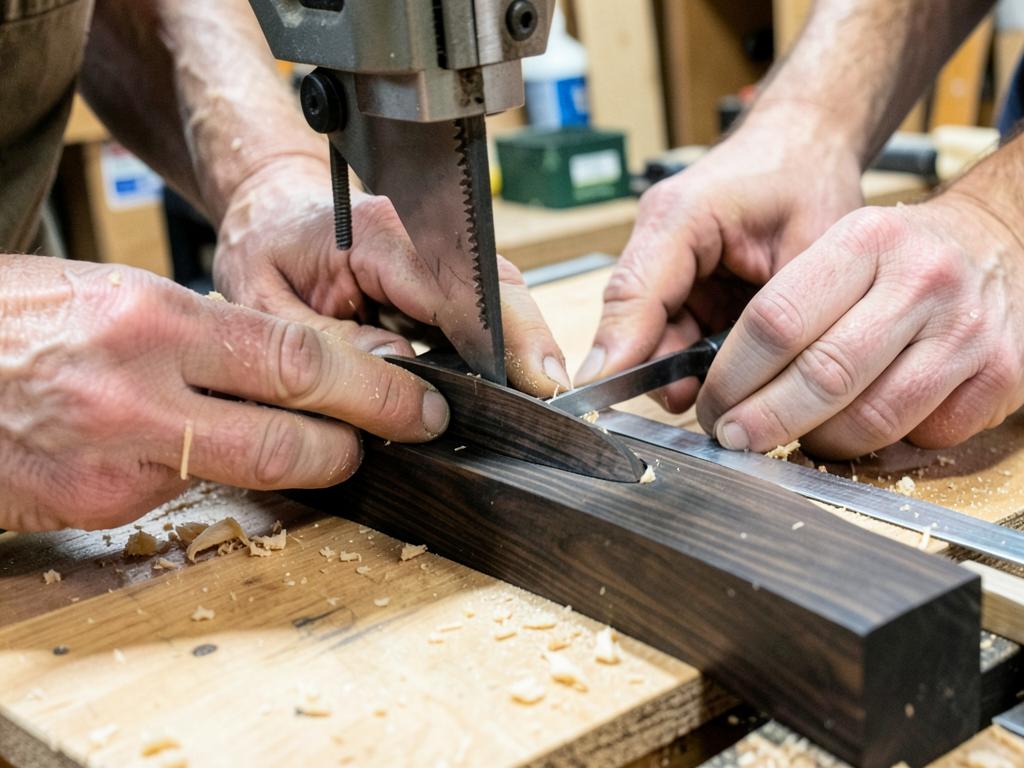
Step 9 of 24 · Bandsaw
Resaw book-matched panels or veneers and cut any curved parts to the line, leaving a whisker.
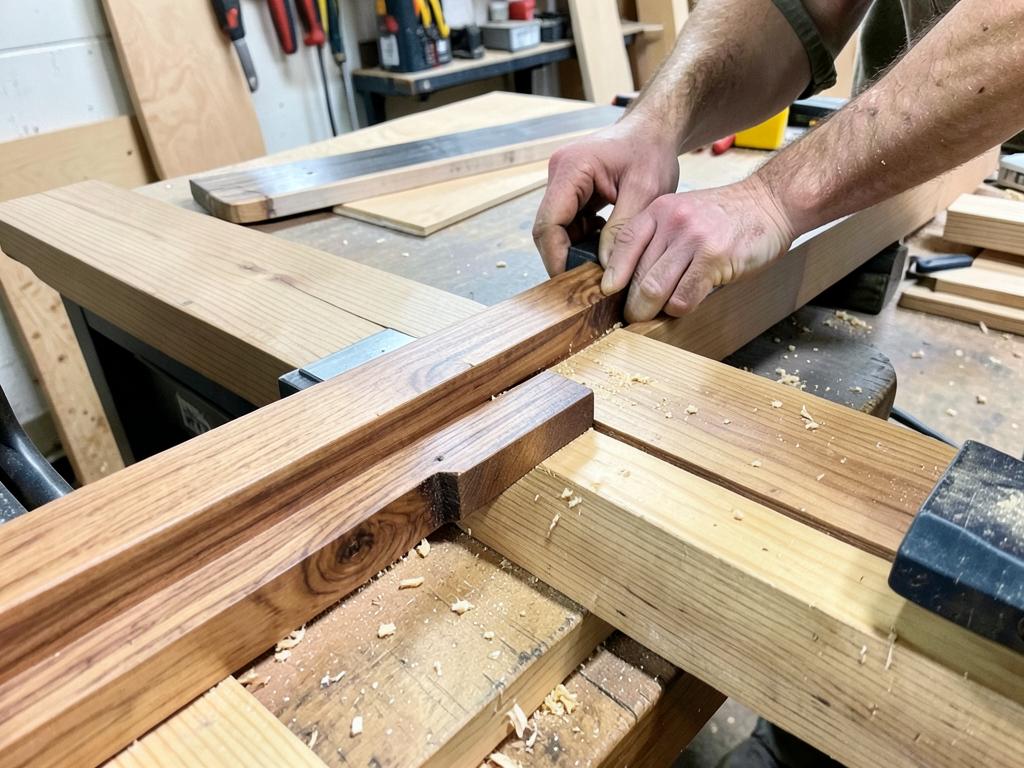
Step 10 of 24 · Router table
Cut grooves, rabbets and dados. Climb-cut a light scoring pass first on brittle exotics like ebony.
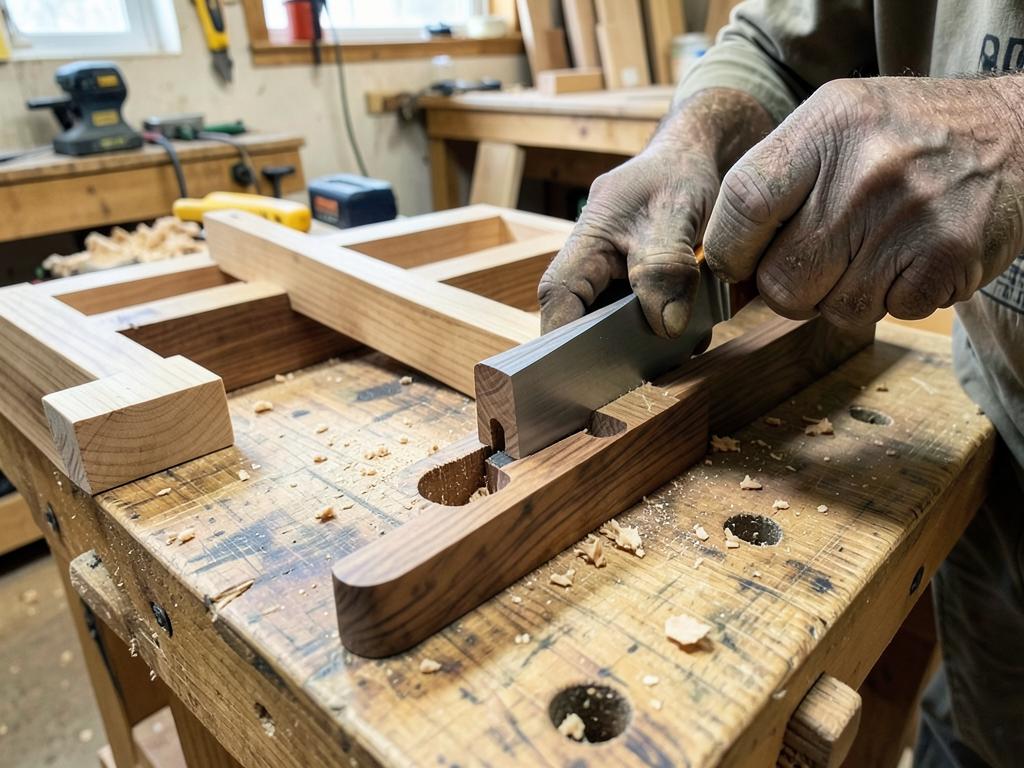
Step 11 of 24 · Mortiser / domino
Cut mortises and tenons or floating-tenon slots. Check each joint for square.
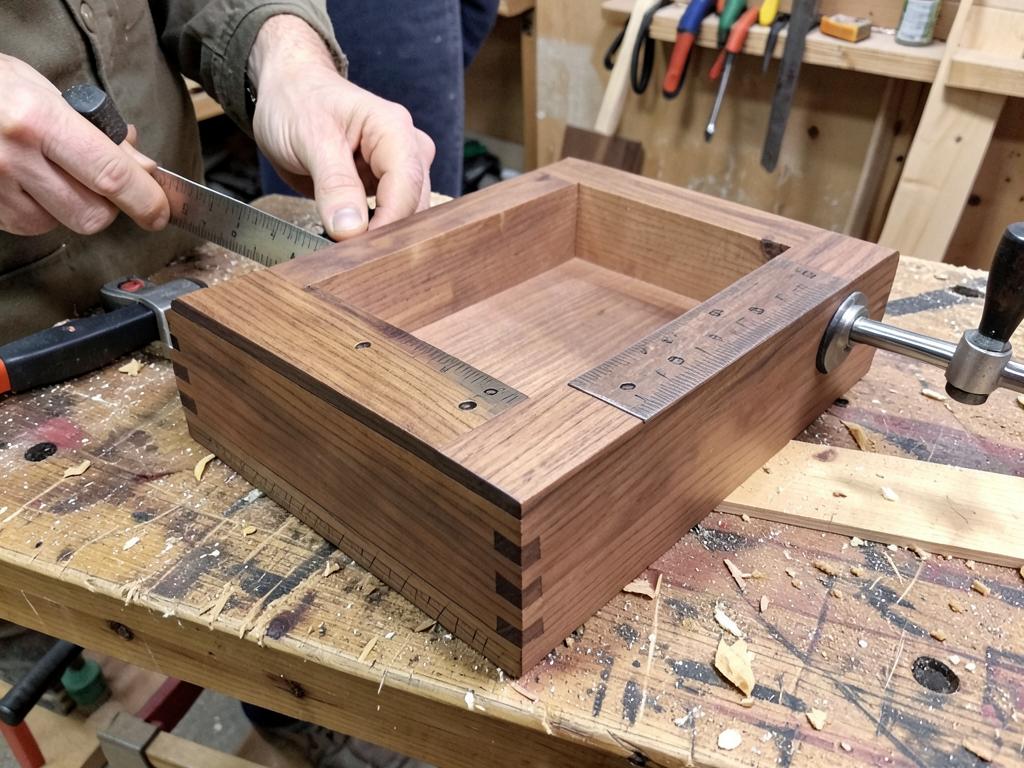
Step 12 of 24 · Dry fit
Assemble with no glue. Check diagonals, seating and reveals. Adjust with a shoulder plane, not force.
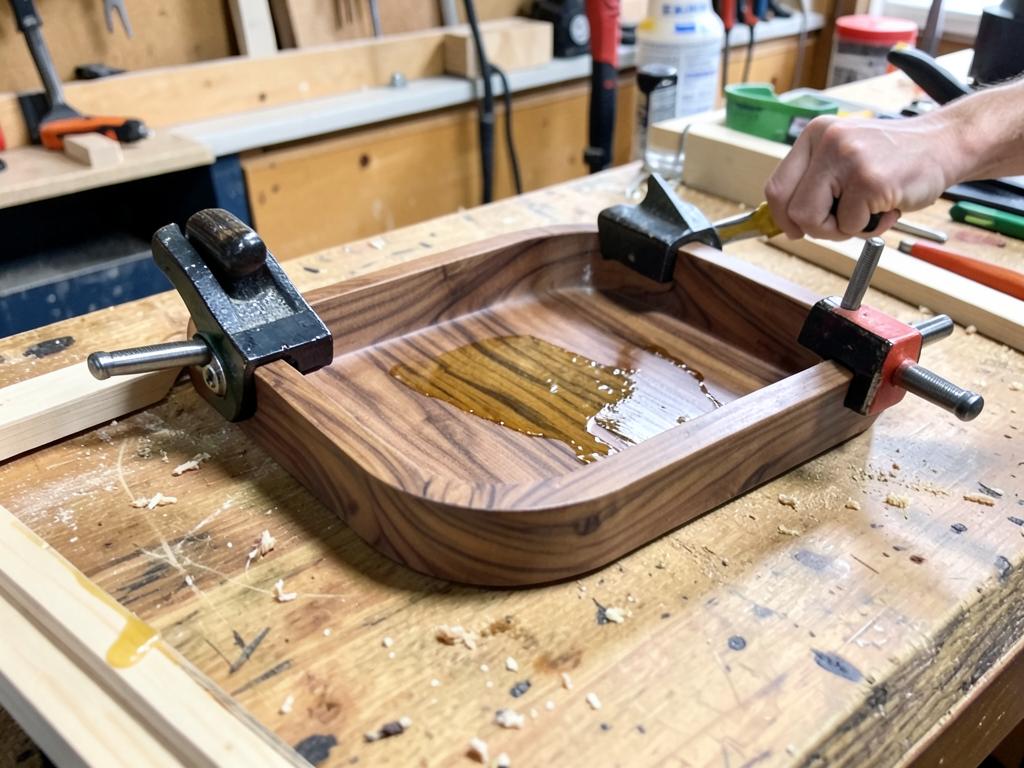
Step 13 of 24 · Glue-up
Glue in stages with cauls and clamps. Wipe squeeze-out wet, check for wind and square before it sets.
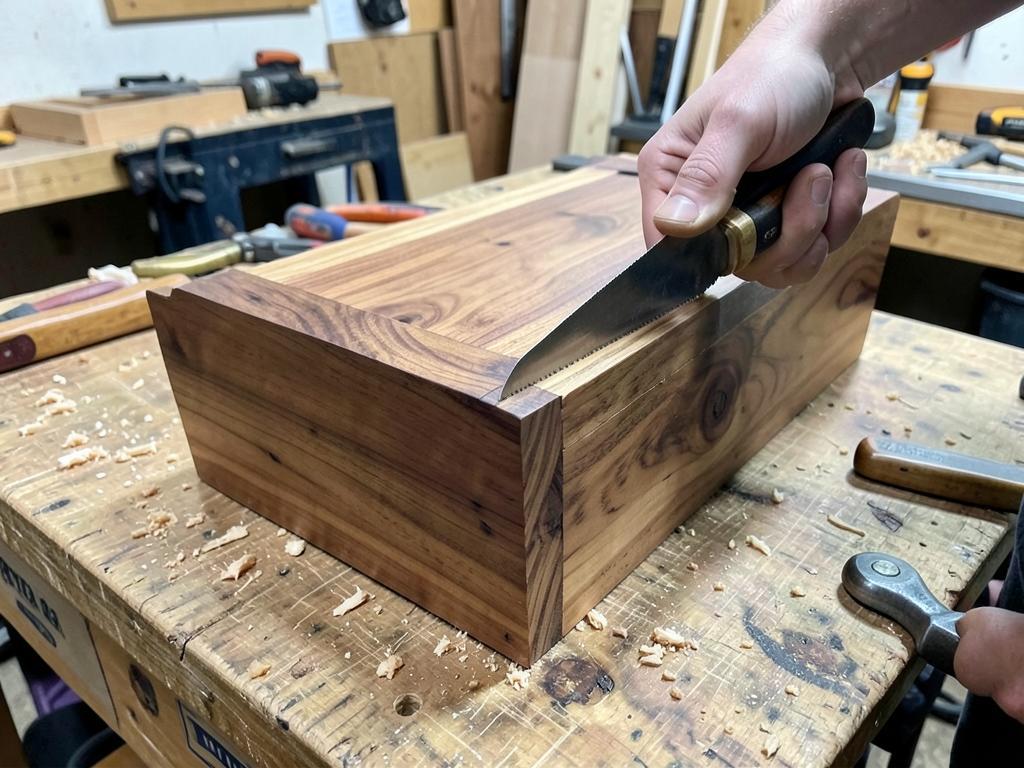
Step 14 of 24 · Flush trim
Trim proud joints with a router or hand plane, working with the grain direction.
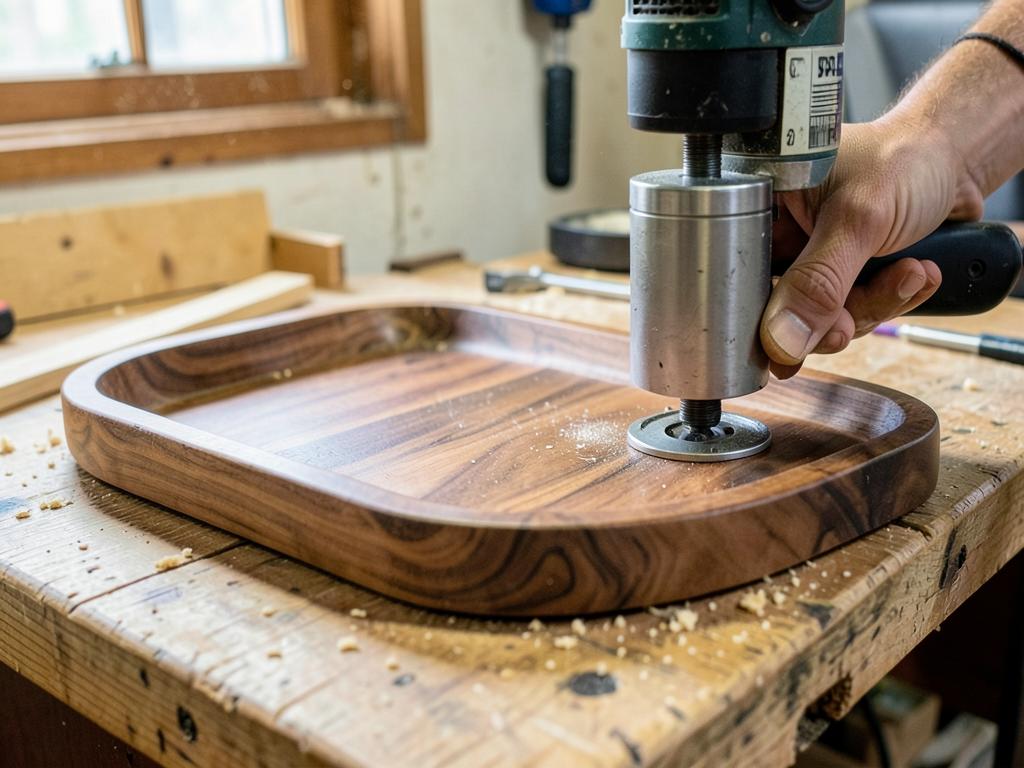
Step 15 of 24 · Router / trim router
Ease edges with round-overs or chamfers. Keep the profile consistent all round.
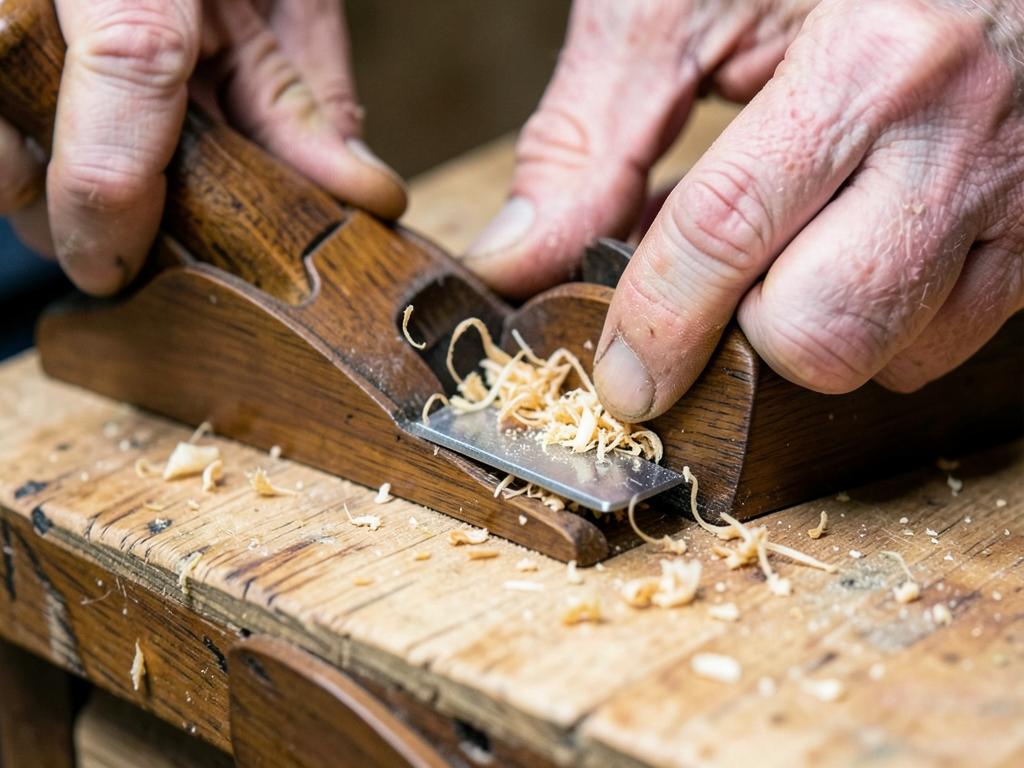
Step 16 of 24 · Hand plane & scraper
Refine surfaces with a smoothing plane and card scraper to leave a burnished, sanded-flat-free face.
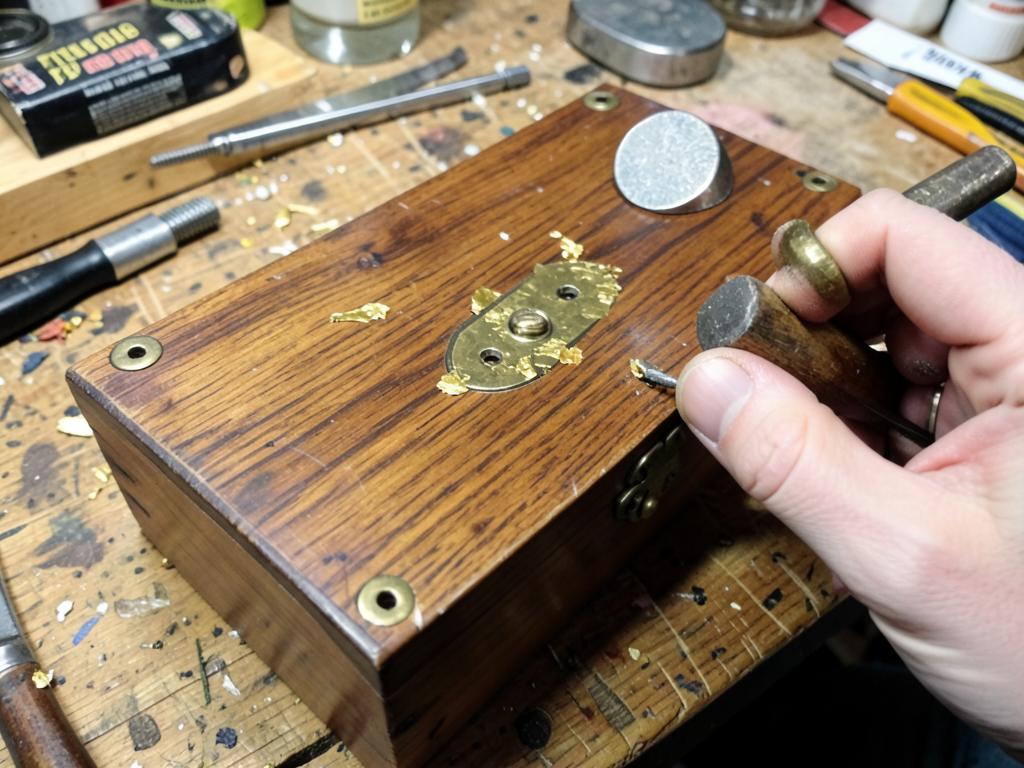
Step 17 of 24 · Inlay & hardware
Fit brass, steel or fabric details. Test-fit dry, seat with epoxy or fasteners, clean the shoulders.
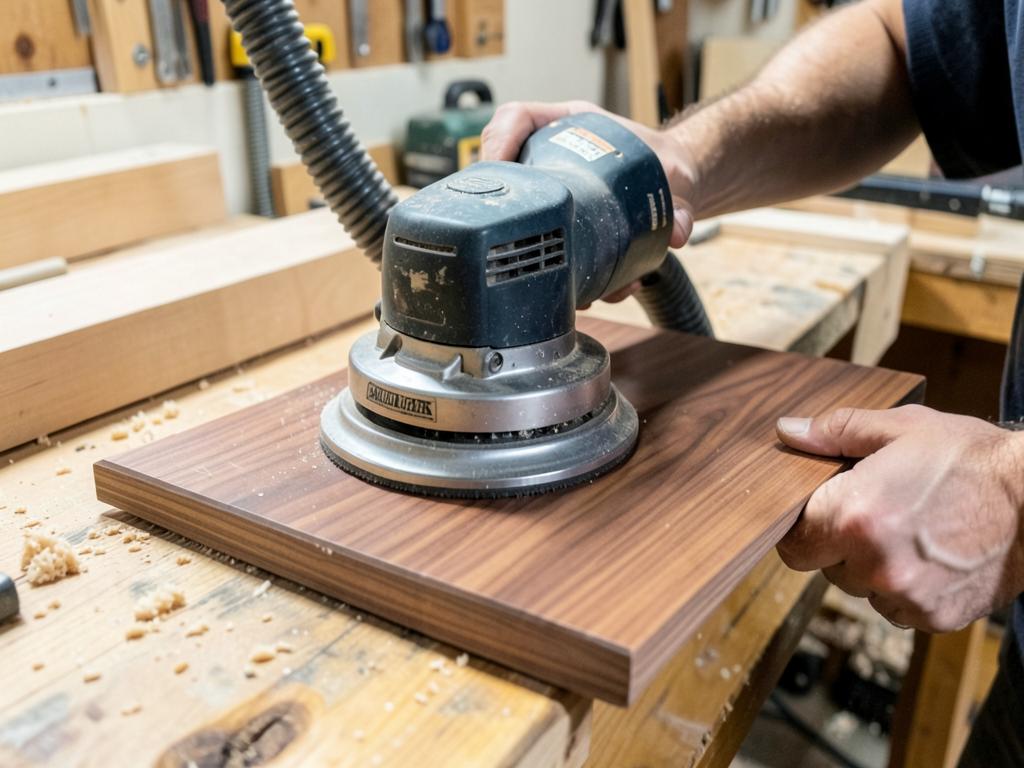
Step 18 of 24 · Random orbit sander
Work 80 → 120 → 180 grit, vacuuming between grits. No skipped grits.
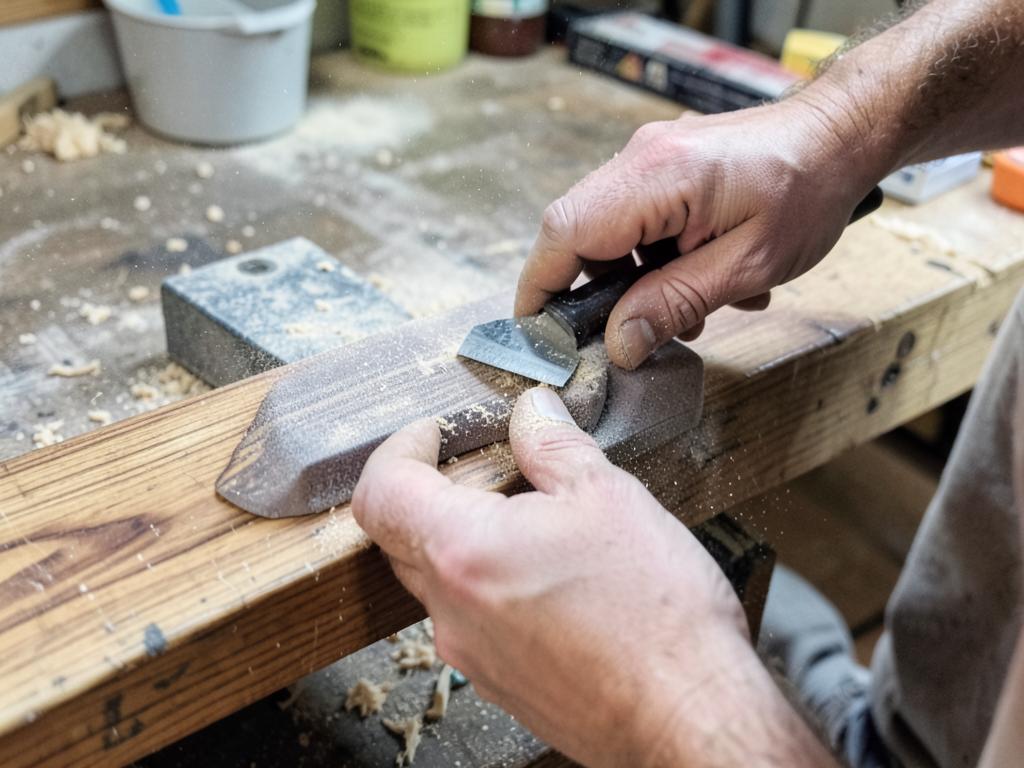
Step 19 of 24 · Hand sanding
Raise the grain with a damp rag, let dry, then hand-sand to 220 with the grain. Break every edge.
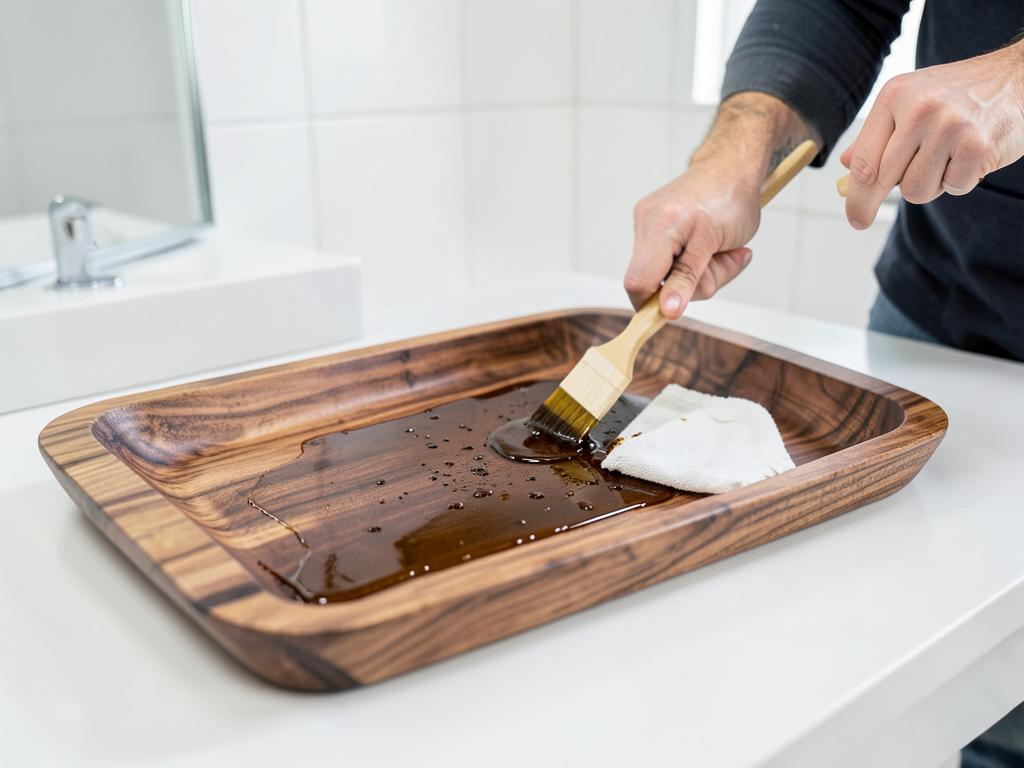
Step 20 of 24 · Finish room
Apply the spec'd finish — food-safe oil and beeswax for kitchen pieces, hardwax oil for furniture.
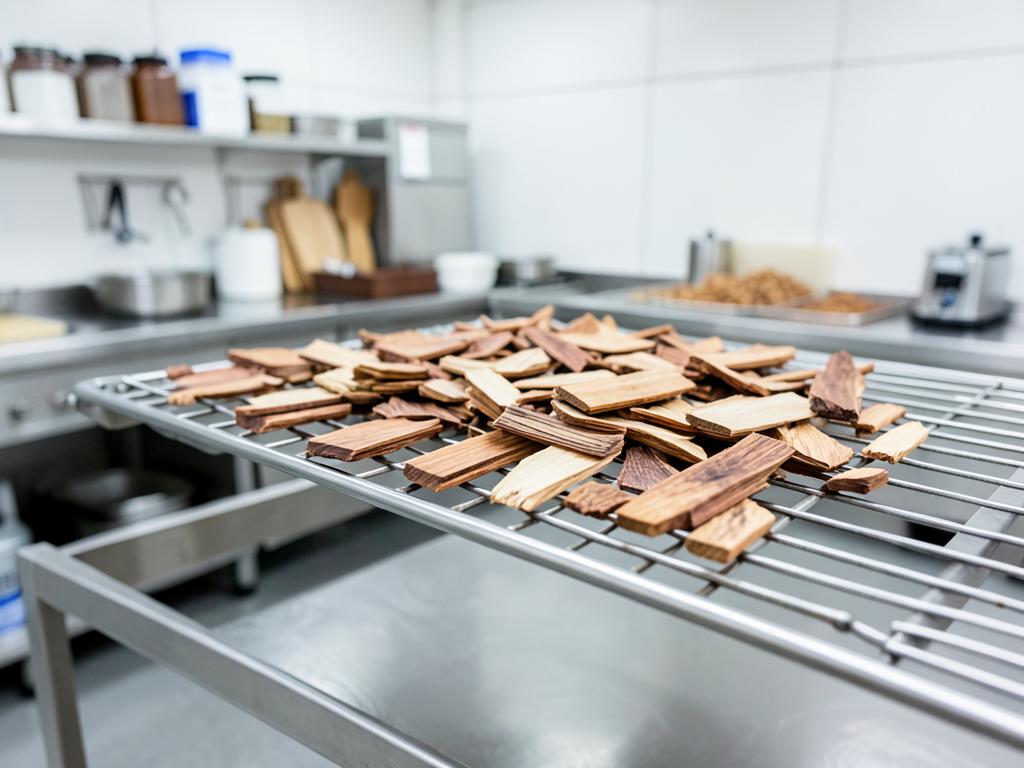
Step 21 of 24 · Cure rack
Build coats with cure time between each. Buff the final coat once fully cured.
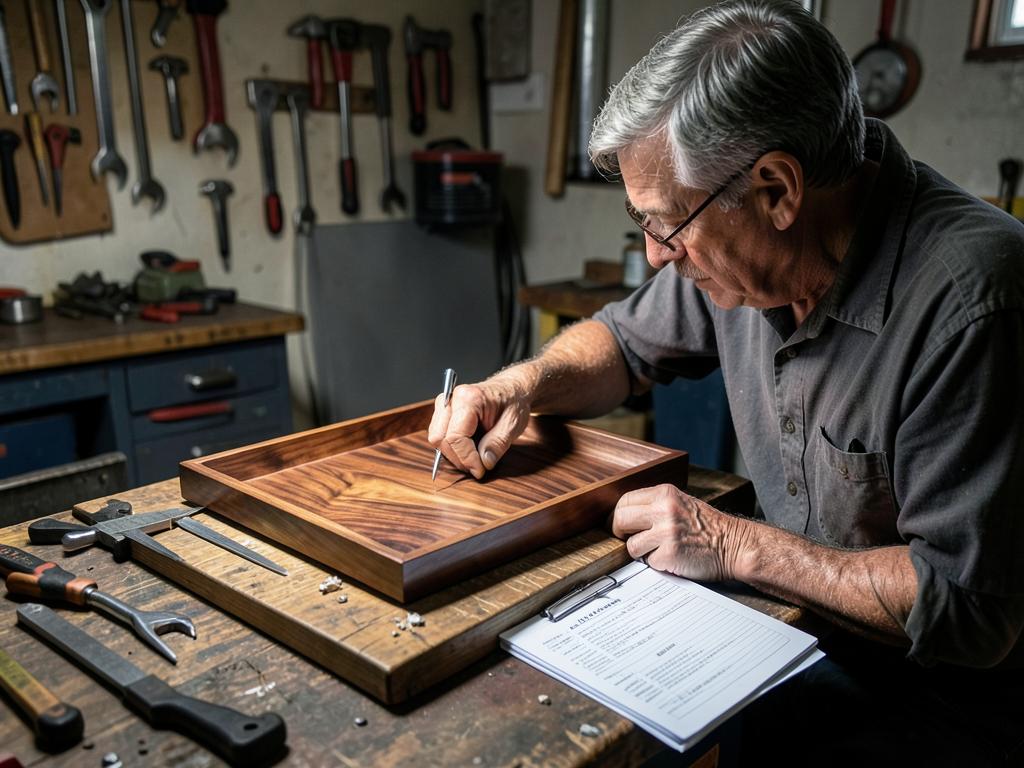
Step 22 of 24 · Inspection bench
Check dimensions, joints, finish sheen and hardware. Sign and date the underside.
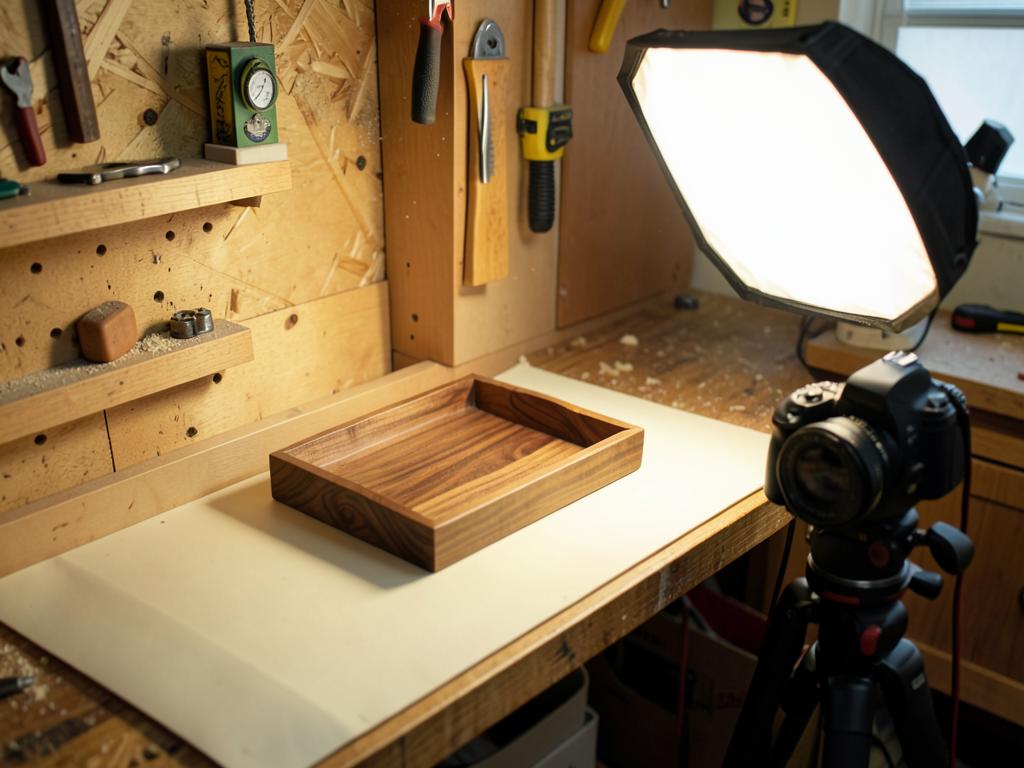
Step 23 of 24 · Photo corner
Shoot the finished piece for the customer's bench diary before it is wrapped.
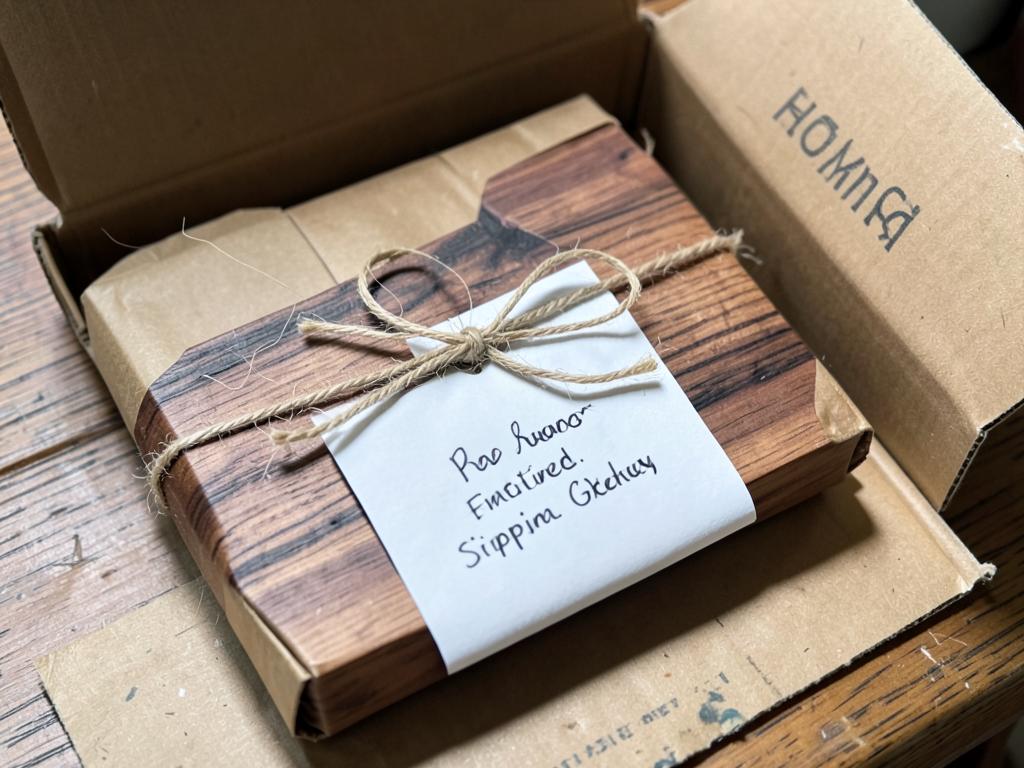
Step 24 of 24 · Packing table
Wrap per the order — signature gift wrap and card if requested — box, insure and record tracking.
Once you order, this same 24-step list becomes your private build page — and the shop adds real photos of your piece at each step as it moves down the bench.